If you’ve ever been jolted awake by car horns, struggled to focus during a Zoom call thanks to noisy neighbors, or just wanted a little more peace and quiet in your own space—you’re not alone.
Soundproofing your home might sound like an expensive and complicated project, but the truth is, you don’t need to hire professionals or spend thousands to make your home noticeably quieter. With a bit of creativity and a few simple materials, you can make a huge difference in the amount of noise that comes in—or goes out—of your space.
This guide is packed with realistic, affordable, and beginner-friendly soundproofing ideas that actually work. Whether you live in a house, apartment, or rental, here’s how to create a calmer, quieter home—without breaking the bank.
🧠 First, Understand How Sound Works
Before we jump into the fixes, it helps to know what we’re dealing with.
There are two main types of sound:
- Airborne sound – This includes voices, music, barking dogs, and traffic. It travels through the air and sneaks in through cracks, thin walls, and gaps.
- Impact (or structure-borne) sound – Think of footsteps, banging furniture, or vibrations from upstairs. This type travels through solid surfaces like walls, floors, and ceilings.
Each type needs a slightly different approach. Some methods absorb sound, some block it, and others reduce vibrations.
✅ Quick Strategy: What You’re Really Trying to Do
When you’re soundproofing on a budget, your goals are:
- Seal up gaps and cracks
- Add soft or dense materials to absorb or block sound
- Rearrange furniture to deflect or absorb noise
- Use simple DIY tools to reduce echoes or vibrations
You don’t need fancy equipment. Just a few smart tweaks can go a long way.
🚪 1. Soundproofing Doors (One of the Easiest Fixes)
Doors are one of the biggest culprits when it comes to sound leaks. Most interior doors are hollow, and even the tiniest gap under or around them can let in a lot of noise.
🔧 Budget-Friendly Fixes for Noisy Doors:
- Weatherstripping (Under $15):
Apply peel-and-stick foam or rubber strips around the edges of your door to close up gaps. - Door Sweep or Draft Stopper (Around $10–$20):
Block the space under the door where sound can pour in. A simple door sweep, or even a rolled-up towel or pool noodle, can help. - Hang a Heavy Curtain or Blanket ($0–$40):
Hang a thick curtain or old quilt over the door. It adds mass and absorbs sound. Bonus: it also helps with insulation in the winter! - Replace a Hollow Door (If You Can):
If it’s your own home, consider swapping out a hollow-core interior door for a solid-core one. You can often find them secondhand for under $100.
🪟 2. Soundproofing Windows (Stop Outside Noise in Its Tracks)
If traffic, sirens, or loud neighbors are your problem, your windows are probably the weak spot.
🔧 Cheap and Effective Window Fixes:
- Seal the Edges ($5–$10):
Use weatherstripping tape, silicone sealant, or acoustic caulk to plug tiny gaps around the frame. It’s cheap, easy, and makes a noticeable difference. - Blackout or Thermal Curtains ($25–$60):
These thick, insulated curtains not only block light but help muffle outside noise. Layer them for even better results. - DIY Window Inserts ($20–$50 per window):
Create a removable noise barrier by cutting acrylic sheets (like plexiglass) to the size of your window and attaching them with Velcro or magnetic tape. - Bubble Wrap Hack (Practically Free):
It’s not pretty, but pressing bubble wrap onto your windowpane (use a water spray to make it stick) can absorb a surprising amount of sound. - Move Furniture Strategically:
Place large furniture like a bookshelf or a sofa near the window to help block and absorb sound.
🧱 3. Soundproofing Walls (The Big One)
If you’re hearing voices, music, or noise through shared walls, it’s time to bulk them up.
🔧 Easy Wall Soundproofing Methods:
- Hang Fabric or Blankets (Free–$30):
Wall hangings, quilts, or even thick curtains help reduce echo and add a sound-absorbing layer. - Mount Bookshelves or Large Furniture (Free–$100):
A fully loaded bookshelf acts as a dense barrier. Place it against the noisy wall for best effect. - Use Acoustic Foam Panels ($20–$60):
These lightweight foam panels absorb echoes and are great for home offices or studios. They’re not miracle workers, but they help. - Mass Loaded Vinyl (MLV) ($2–$5/sq ft):
This heavy-duty material blocks sound and can be stapled behind tapestries or art. It’s a more serious solution but still DIY-friendly. - Avoid Egg Cartons:
A popular myth, but they do very little to reduce sound. Don’t waste your time.
🪑 4. Rearranging Furniture to Reduce Noise (Totally Free!)
This might surprise you, but how you arrange your space can affect how sound travels.
🔧 Simple Tips:
- Put bookshelves, wardrobes, or heavy furniture along shared walls to add mass and block sound from traveling.
- Use rugs and curtains generously to absorb sound and cut down on echo.
- Add soft items like pillows, floor cushions, and blankets—they help break up sound waves and reduce reverb.
Think of it like this: the more soft or dense surfaces sound has to pass through, the less noise you’ll hear.
🧼 5. Soundproofing Floors (Especially Important in Apartments)
If your downstairs neighbors are always hearing you (or you’re tired of hearing your upstairs neighbors), your floors are part of the problem.
🔧 Easy Floor Soundproofing Options:
- Area Rugs with Rug Pads ($30–$100):
A thick rug with a rubber or felt pad underneath makes a big difference. Layer two rugs if needed. - Interlocking Foam Mats ($20–$40):
These are often used in gyms or playrooms and are great for reducing impact noise. - Cork Underlayment ($1–$2/sq ft):
Cork is naturally sound-absorbing and can be placed under carpets, rugs, or laminate flooring. - Place Furniture Smartly:
Use your sofa, coffee table, or bed frame to absorb vibrations and minimize sound bouncing around.
🧼 6. Ceilings (Tougher, But Not Impossible)
Dealing with noisy upstairs neighbors? Ceilings are a bit harder to soundproof, but there are still some helpful tricks.
🔧 What You Can Try:
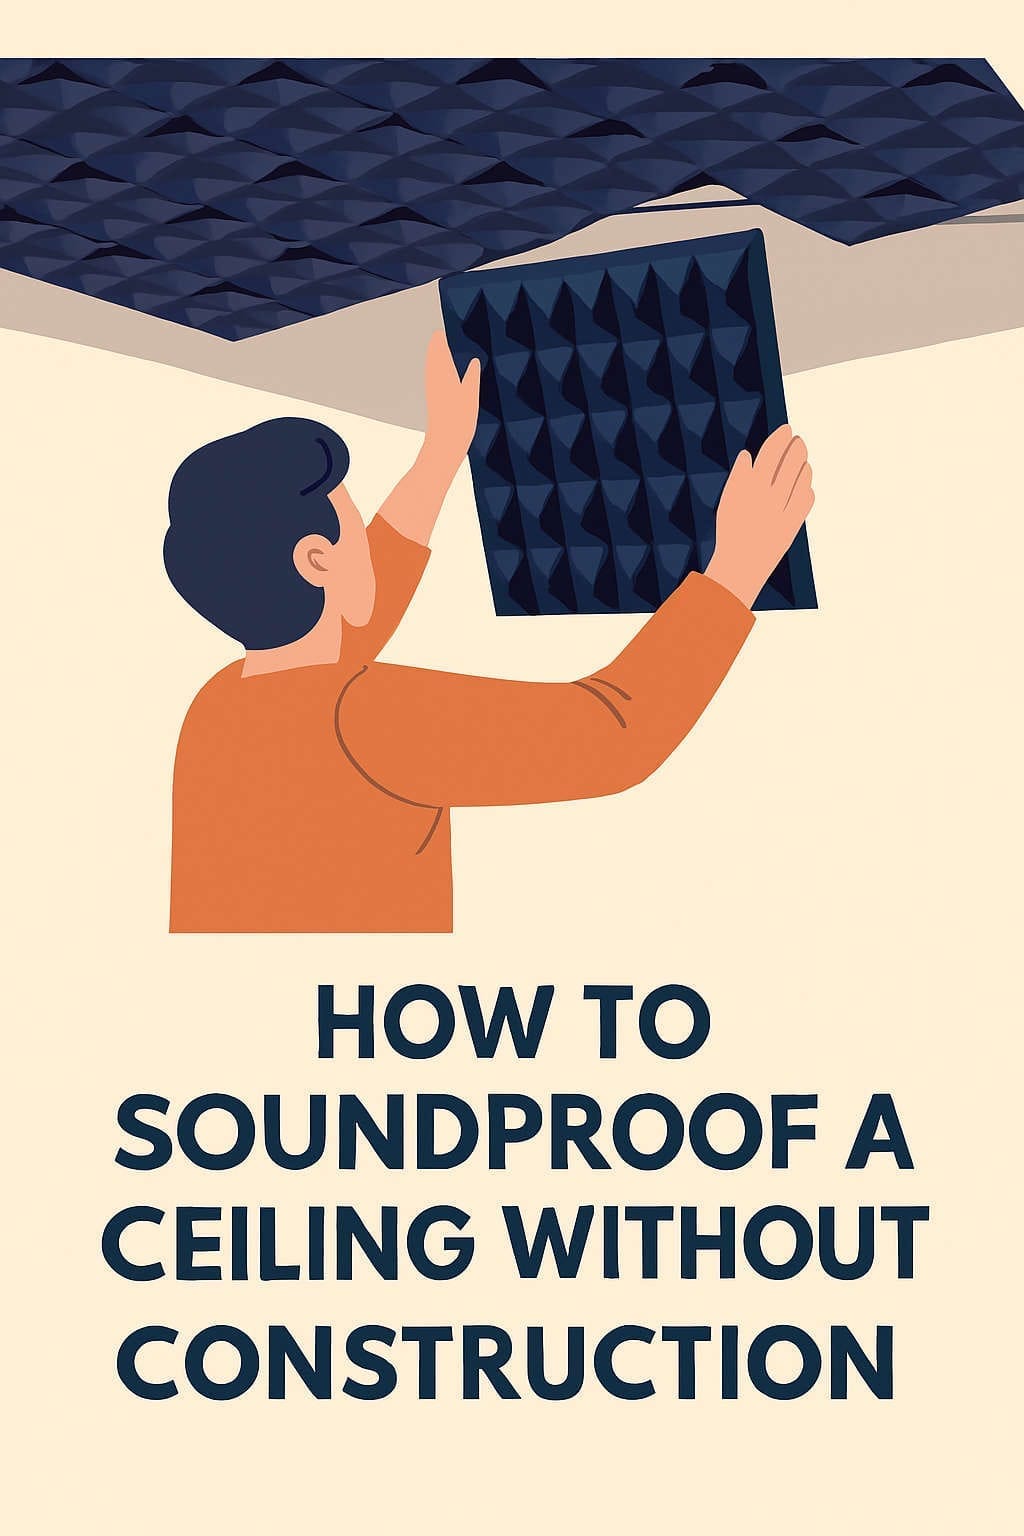
- Acoustic Ceiling Panels ($1–$3 per panel):
Lightweight, stick-on panels can be applied directly to your ceiling to reduce sound and echo. - Hang Fabric Panels or Draped Fabric ($20–$50):
A decorative and effective option. Fabric absorbs sound that would otherwise bounce down into your space. - Add “Cloud” Panels:
These are fabric-covered foam panels that hang from the ceiling. They’re popular in studios but can be made DIY-style. - White Noise Machine ($20–$40):
It won’t block sound, but it can mask it and make sudden noises less noticeable—especially while sleeping.
🔌 7. Don’t Forget the Small Stuff (It Makes a Big Difference)
Sometimes, the little things are what make the most noise.
🔧 Seal These Often-Overlooked Spots:
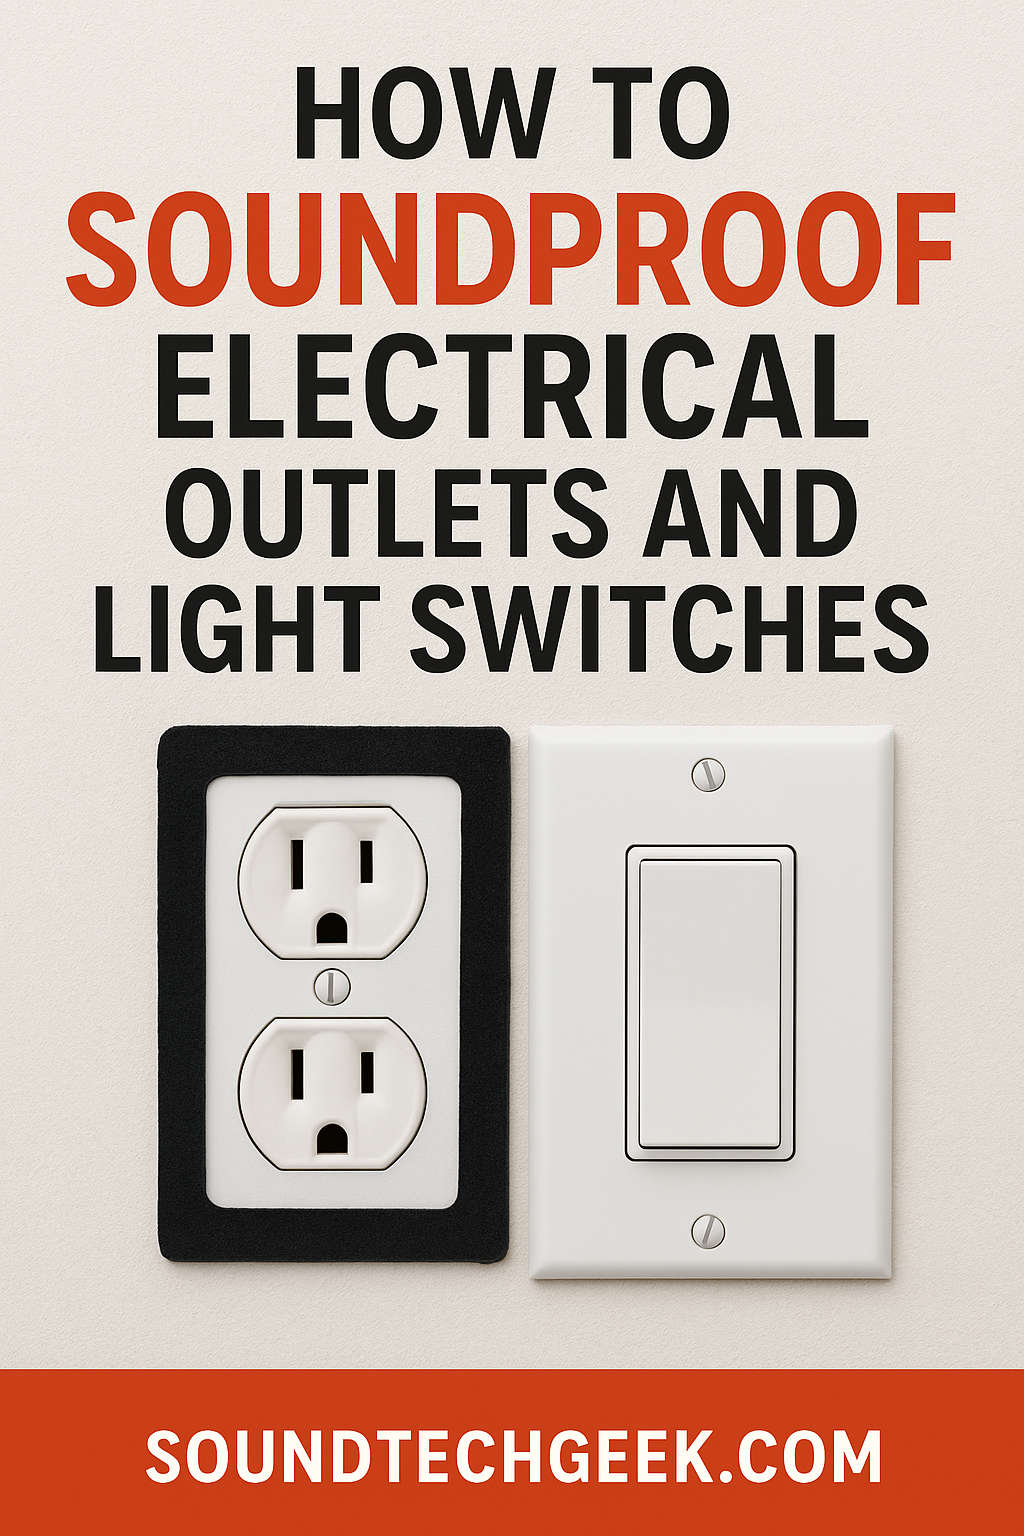
- Electrical Outlets & Switches:
Sound can travel through gaps in outlets. Use foam gaskets or putty pads behind outlet covers. - Baseboards and Trim:
Seal cracks with acoustic caulk or latex sealant to stop sound from sneaking through. - HVAC Vents and Air Gaps:
Sound travels through vents! You can line ducts with sound-dampening material or install temporary vent covers in unused ducts. - Under Doors:
Even a small gap can let in a lot of noise. A $10 draft stopper or door sweep is an easy fix.
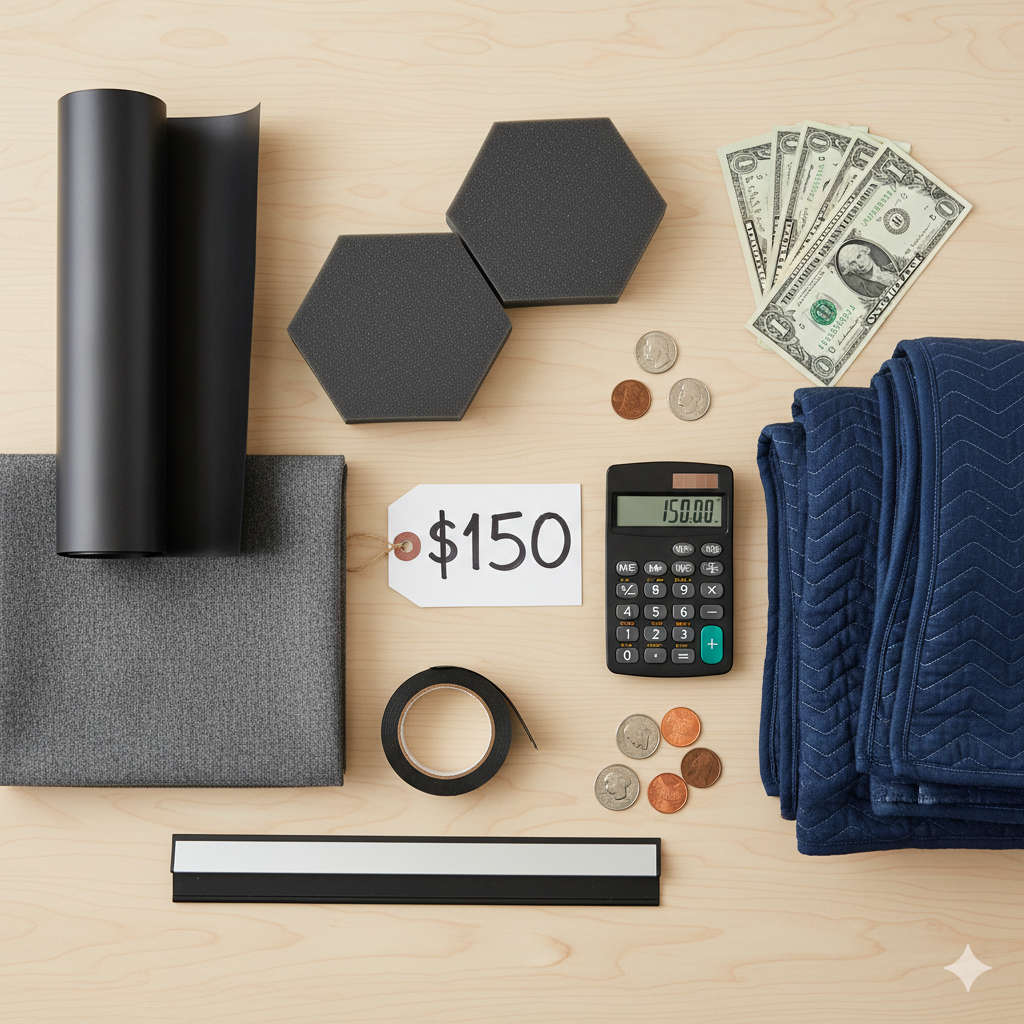
💸 Sample Budget Plan: Soundproof a Room for Under $150
Want to start small but smart? Here’s a sample budget plan to get you started:
| Item | Use Case | Estimated Cost |
|---|---|---|
| Weatherstripping kit | Door/window sealing | $10 |
| Door sweep | Block door gap | $12 |
| Blackout curtains | Window sound blocker | $35 |
| Foam panels (12-pack) | Echo control | $30 |
| Used rug + pad | Floor noise absorption | $40 |
| Bubble wrap for windows | Temporary insulation | $5 |
| Outlet gaskets | Seal hidden leaks | $5 |
| Total | $137 |
You don’t need to do everything at once—start with the biggest problem areas and work your way around.
⚠️ Common Soundproofing Mistakes to Avoid
- Thinking acoustic foam blocks outside noise.
It only absorbs sound within the room. It won’t block your neighbor’s TV. - Skipping door and window seals.
These small gaps are often the biggest culprits. - Using the wrong materials.
Egg cartons, cardboard, or thin blankets won’t cut it. - Not layering solutions.
The best approach is usually a combination: seal + absorb + block.
🧘♂️ Final Thoughts: A Quieter Home Is Within Reach
You don’t need an expensive renovation or high-end products to create a peaceful space. With the right strategies and materials, you can soundproof your home without going broke.
Start small. Focus on the areas where sound is the biggest issue—usually doors and windows—and build from there. Over time, you’ll notice a real difference in how your space sounds and feels.
Because honestly? Your home should be a place where you can unwind—not where you need to wear headphones to stay sane.
📌 Extra Resources:
- Free Apps to Measure Sound Levels: Try “Decibel X” or “Sound Meter.”
- Where to Find Cheap Materials: Check thrift stores, local classifieds, or Habitat for Humanity ReStores.
- YouTube DIYs: Look up visual tutorials for installing foam panels or building your own window inserts.
Enjoyed this guide?
Share your soundproofing success stories or challenges in the comments. And don’t forget to subscribe for more DIY home hacks, budget projects, and life-simplifying solutions!


